

Hello Crafters! I wanted to share a wreath I made to celebrate my favorite season….FALL. I love everything about Fall. Fall has always been memorable for me because this is a time a year when my family gets together for chili dinners or just spending time together with a hot cocoa. I was inspired to create a wreath using my Cricut Explore and Cricut Design Space. I was amazed at how simple and fast this process was. I was a little ambitious and cut out 225 leaves. I had no idea how many I would need because I wanted to make a large rectangular wreath. I did not quite use all the leaves but I used most of them. So let me show you the steps to this process.

Here is the completed wreath. The bow was the most challenging for me…I have a love/hate relationship with bow but I succeeded. The ribbon is from Michaels by Celebrate It “Harvest”.
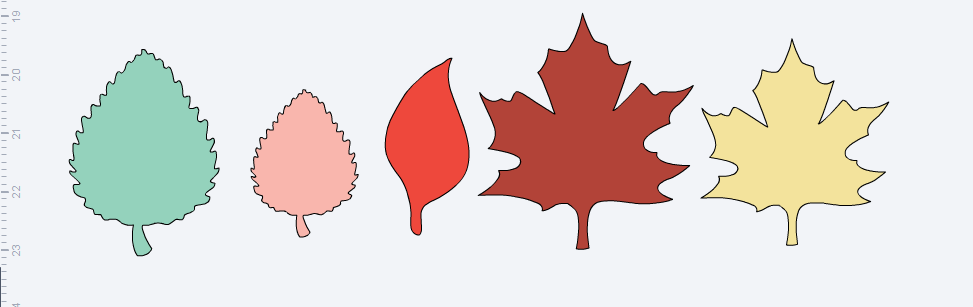
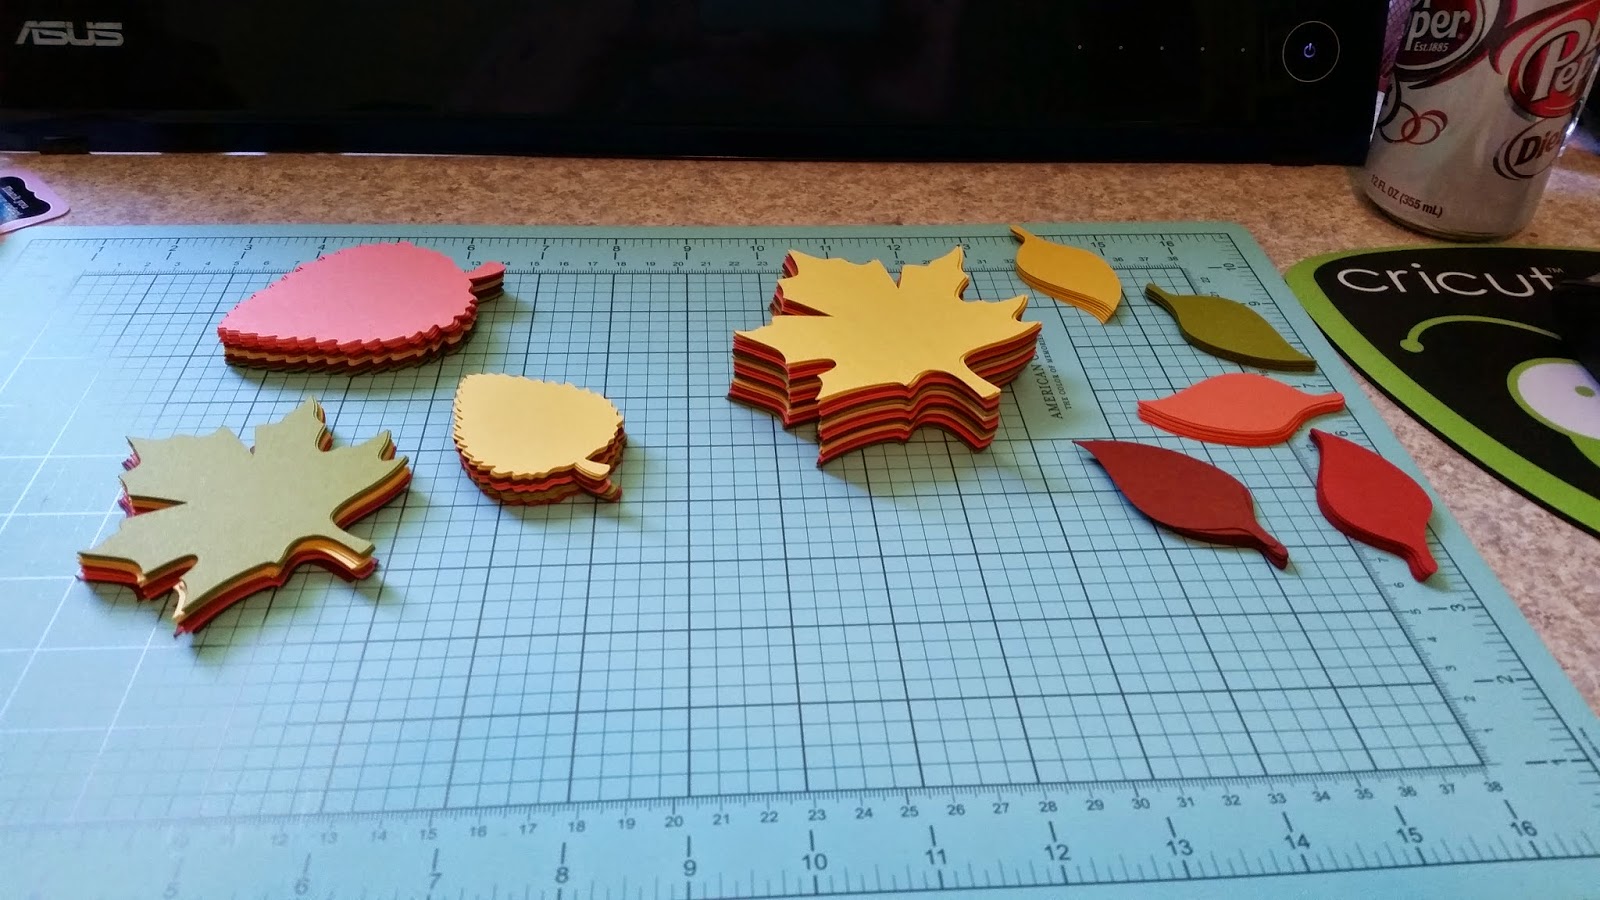
I used Cricut Design Space to cut my leaves. I used the search function for leaves, leaf, Fall, and Autumn. Here are the measurements and cartridge from left to right: (green) 2.54″ x 3.5″, (pink) 1.81″ x 2.5″ I am sorry I don’t know the name of the cartridge for these; (red) ‘Home for the Holidays Fall/Winter’ 1.118″ x 2.5″; (dark red) ‘Straight
From the Nest’ 3.64″ x 4″ and (yellow) ‘Straight From the Nest’ 3.18″ x 3.5″.
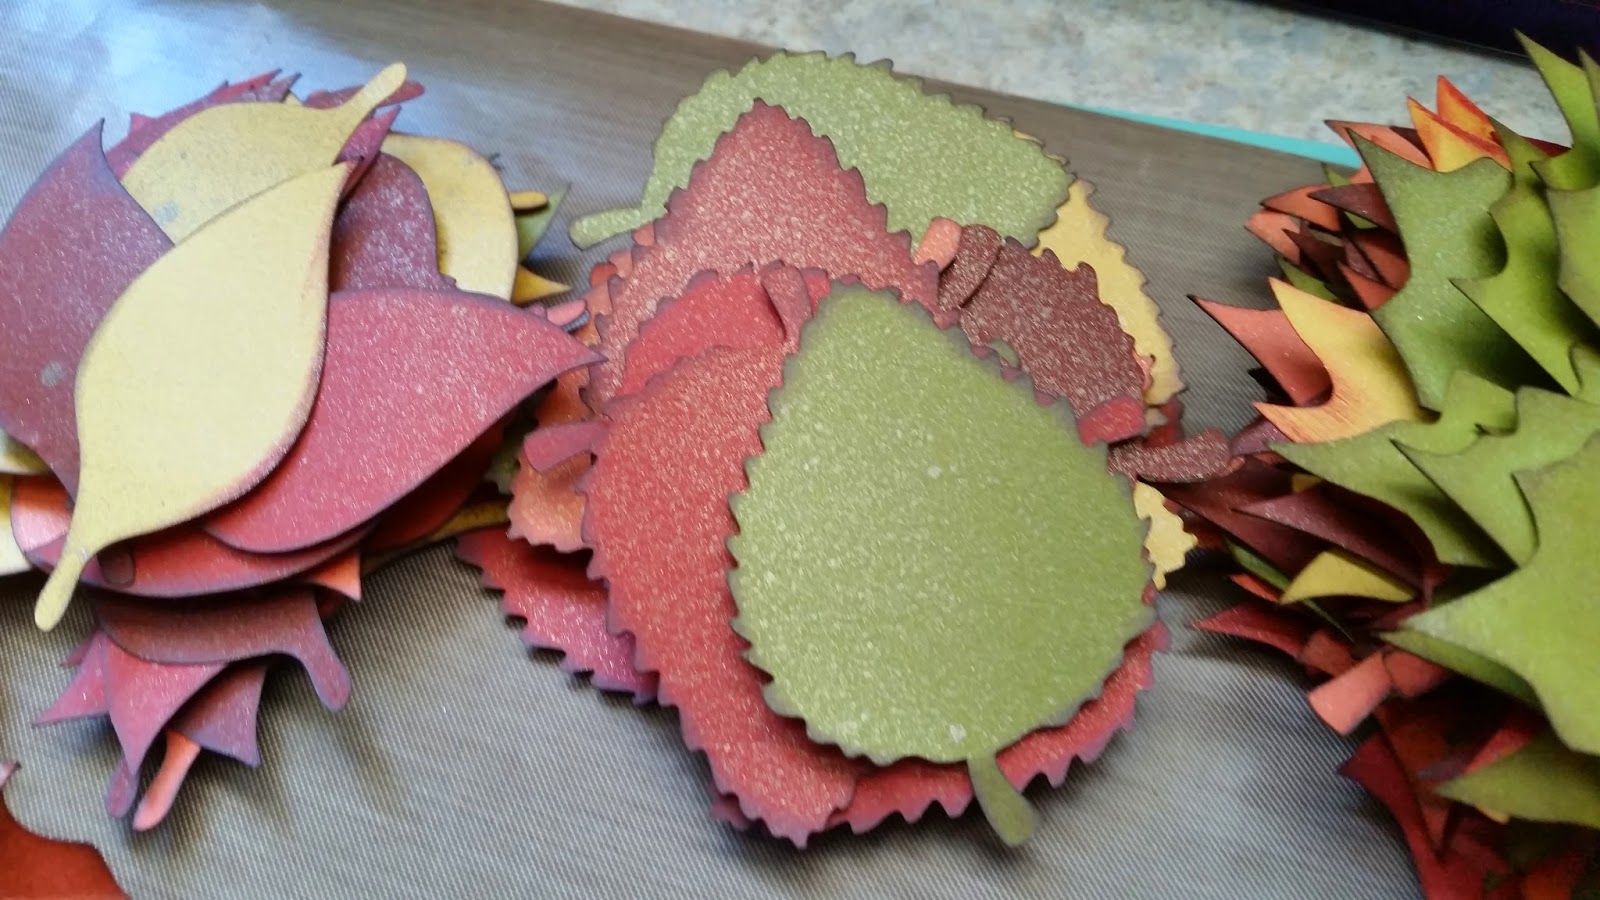
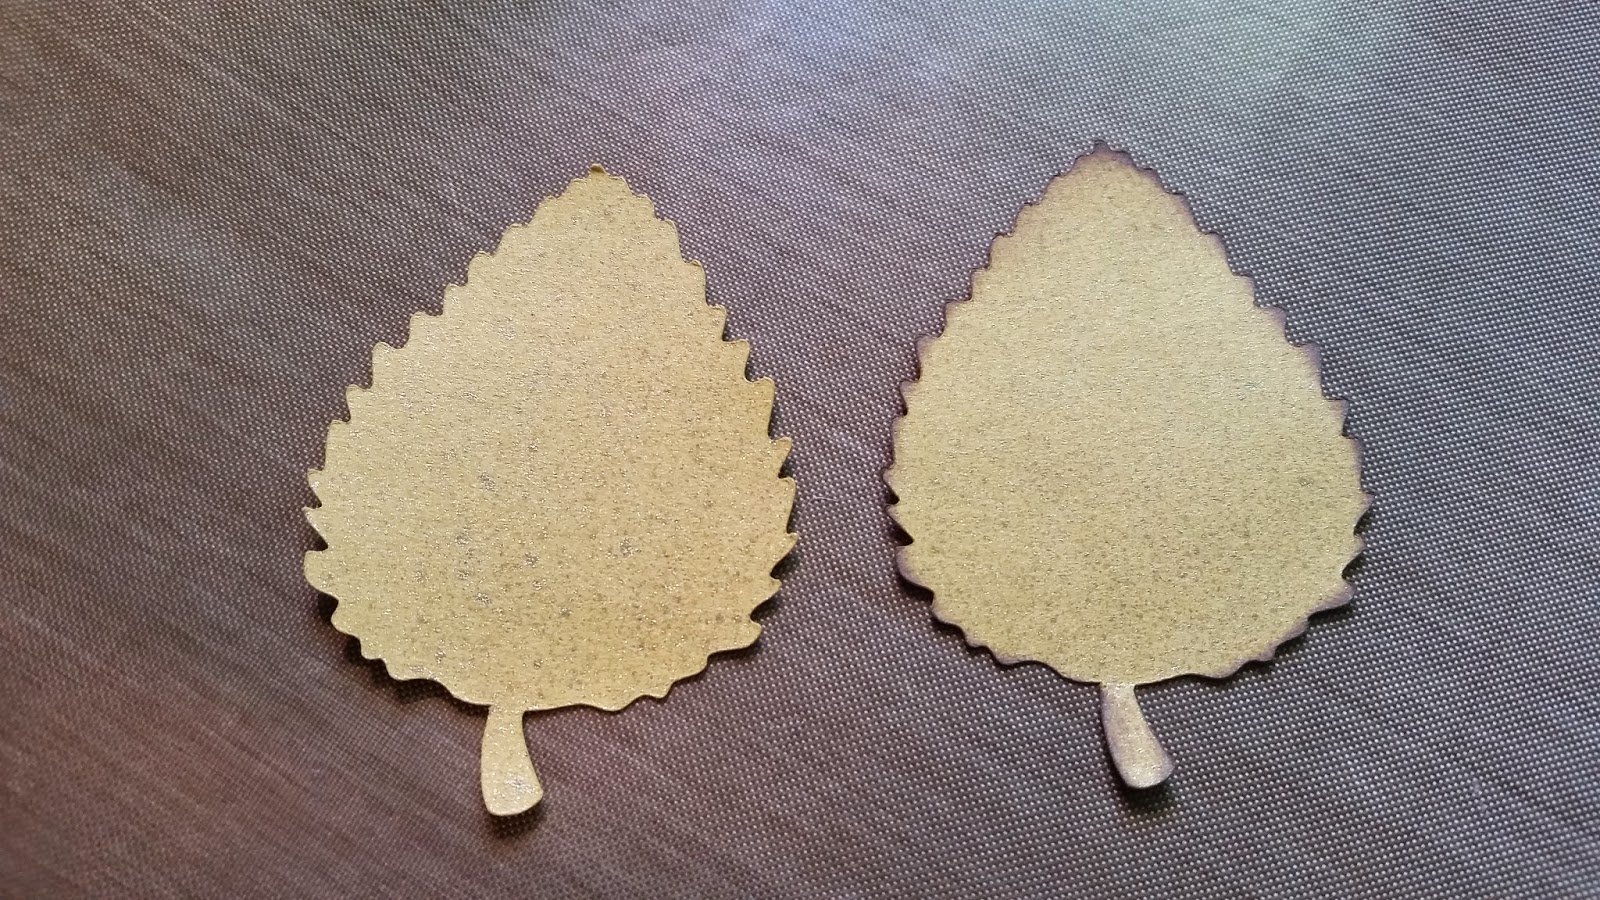
This is what the leaves look like after cutting them out…BORING! So, I decided to do some inking and misting. Yes, that is 225 leaves. I used Recollections cardstock…it is a pack of Autumn colors. I was impressed how durable the cardstock is.
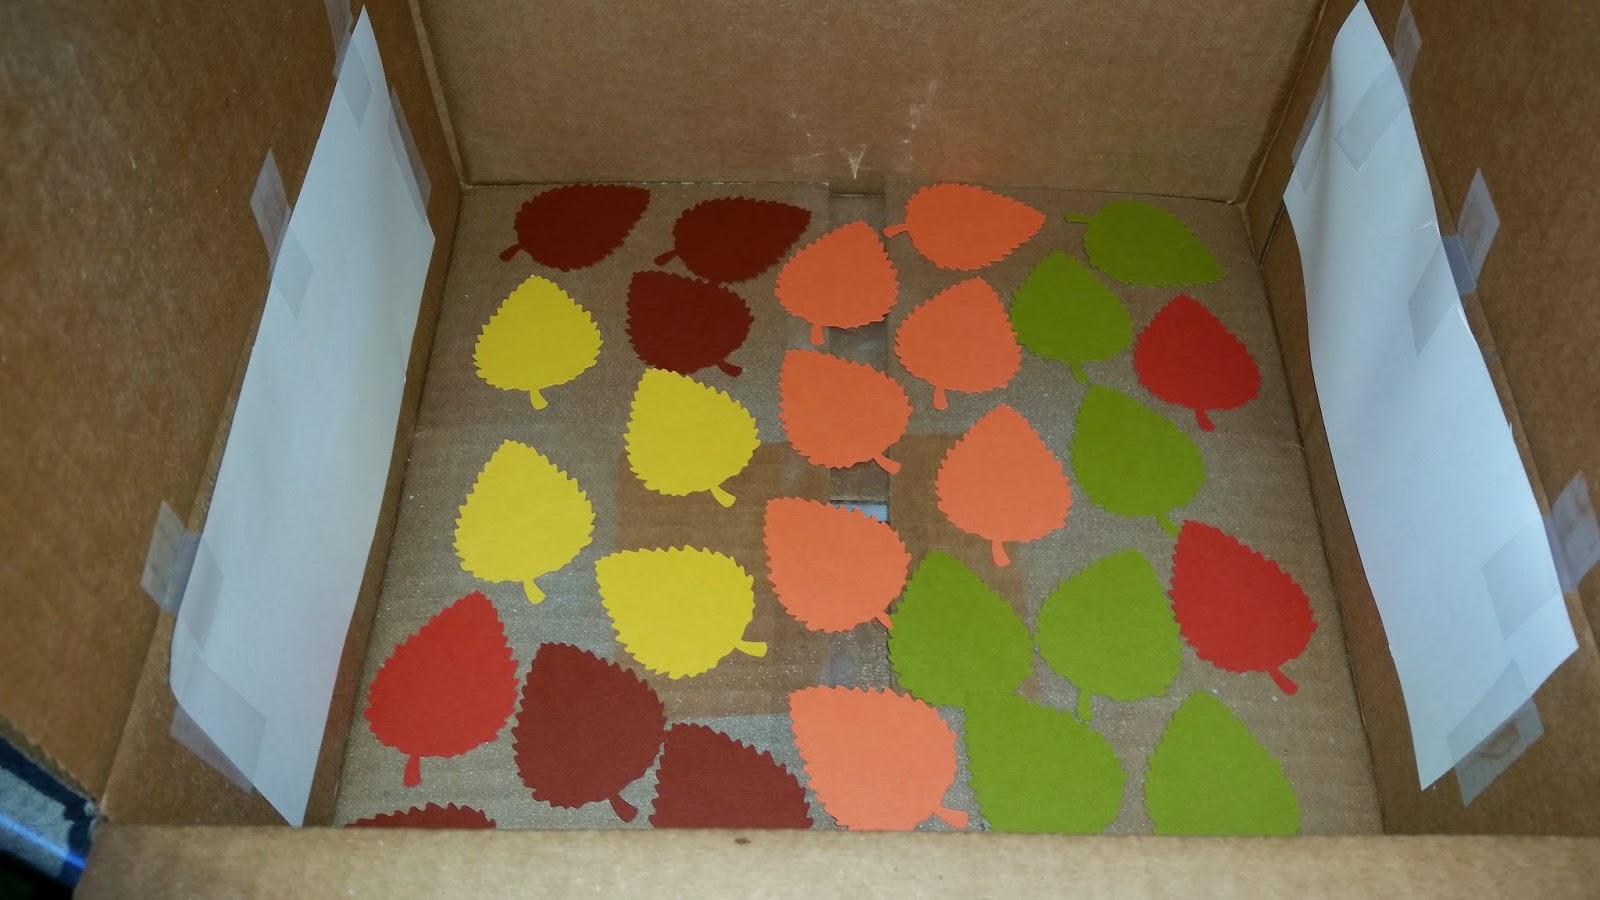
Before Misting.

After Misting.
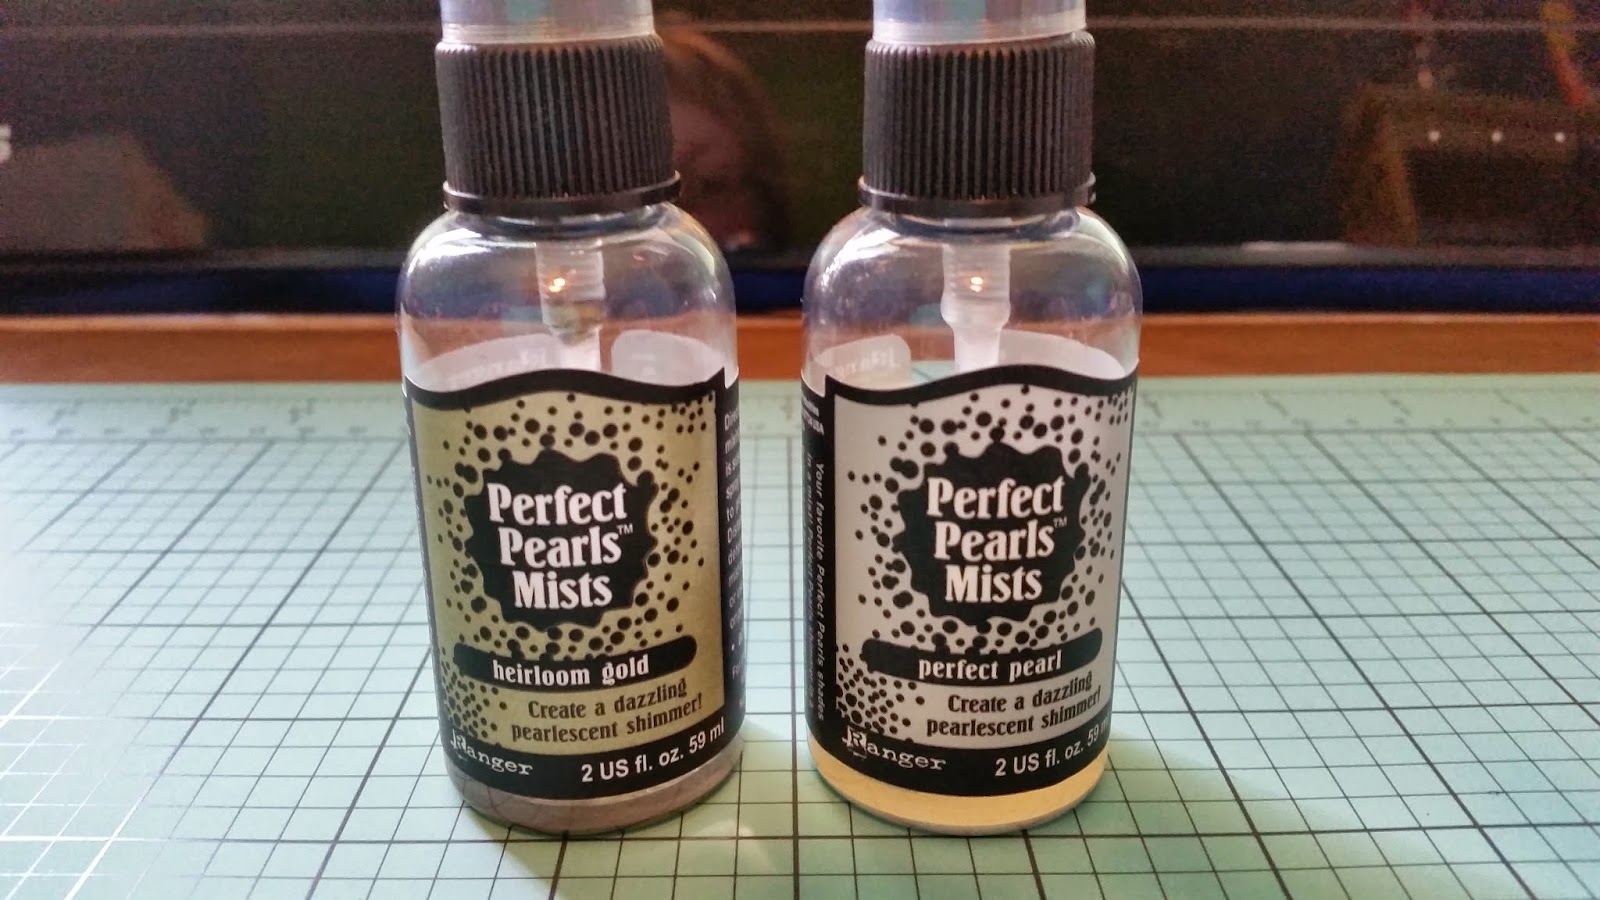
I used Ranger Perfect Pearls Mist….LOVE this stuff!
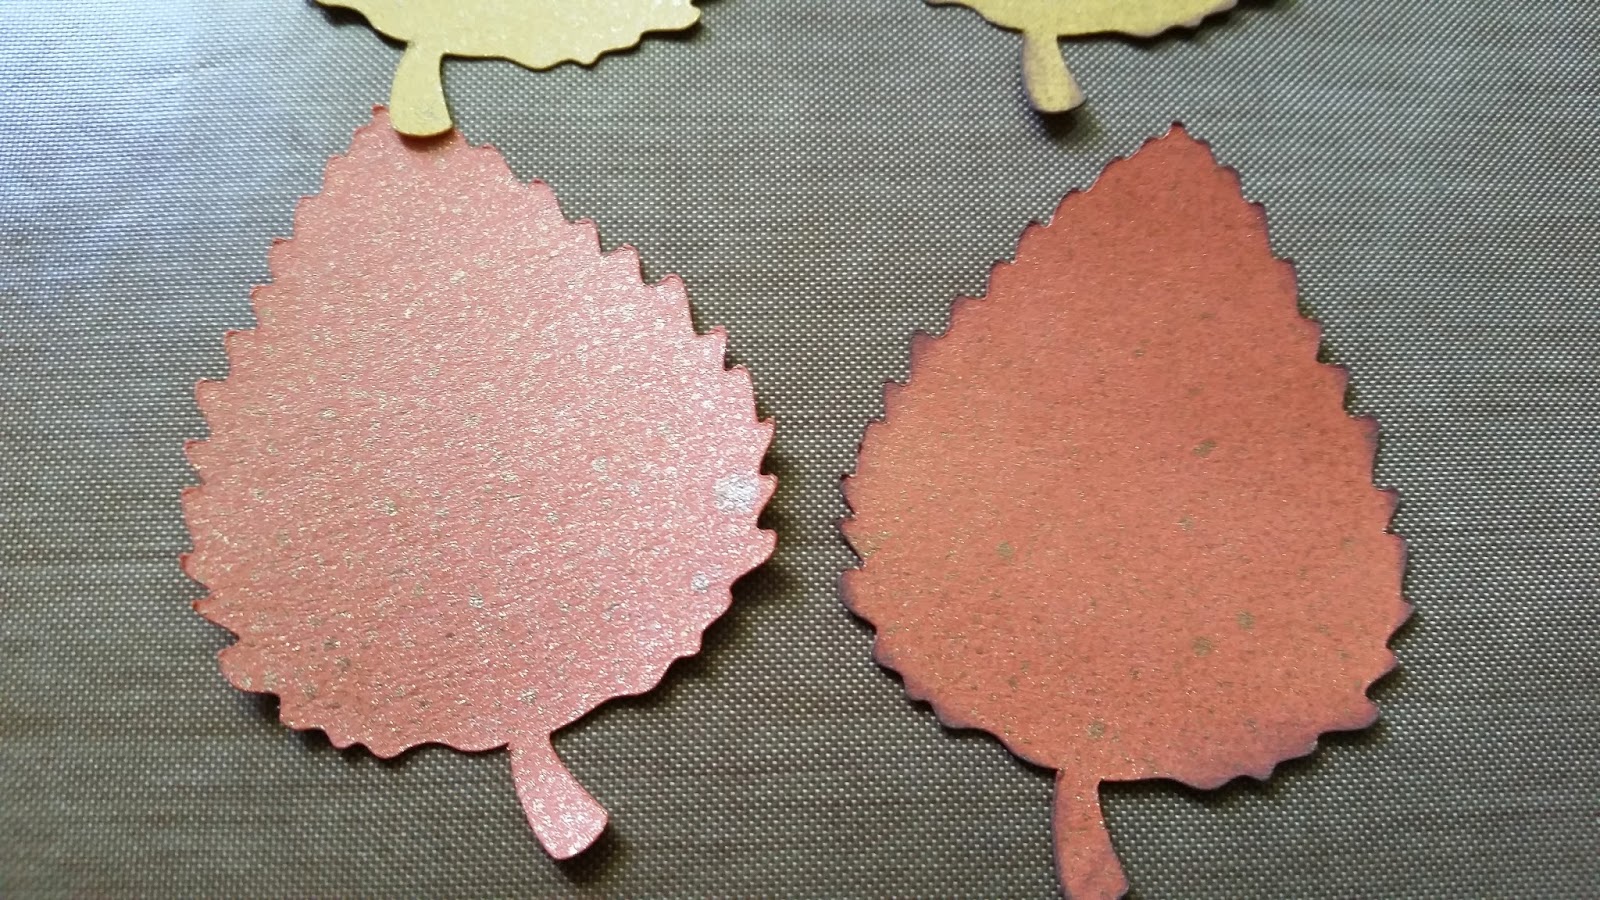
A close up of how these leaves transform after a little misting is done.


After misting I decided to ink the edges and this just added more dimension to the leaves. On most I used Tim Holtz Distress Ink ‘Walnut Stain’.
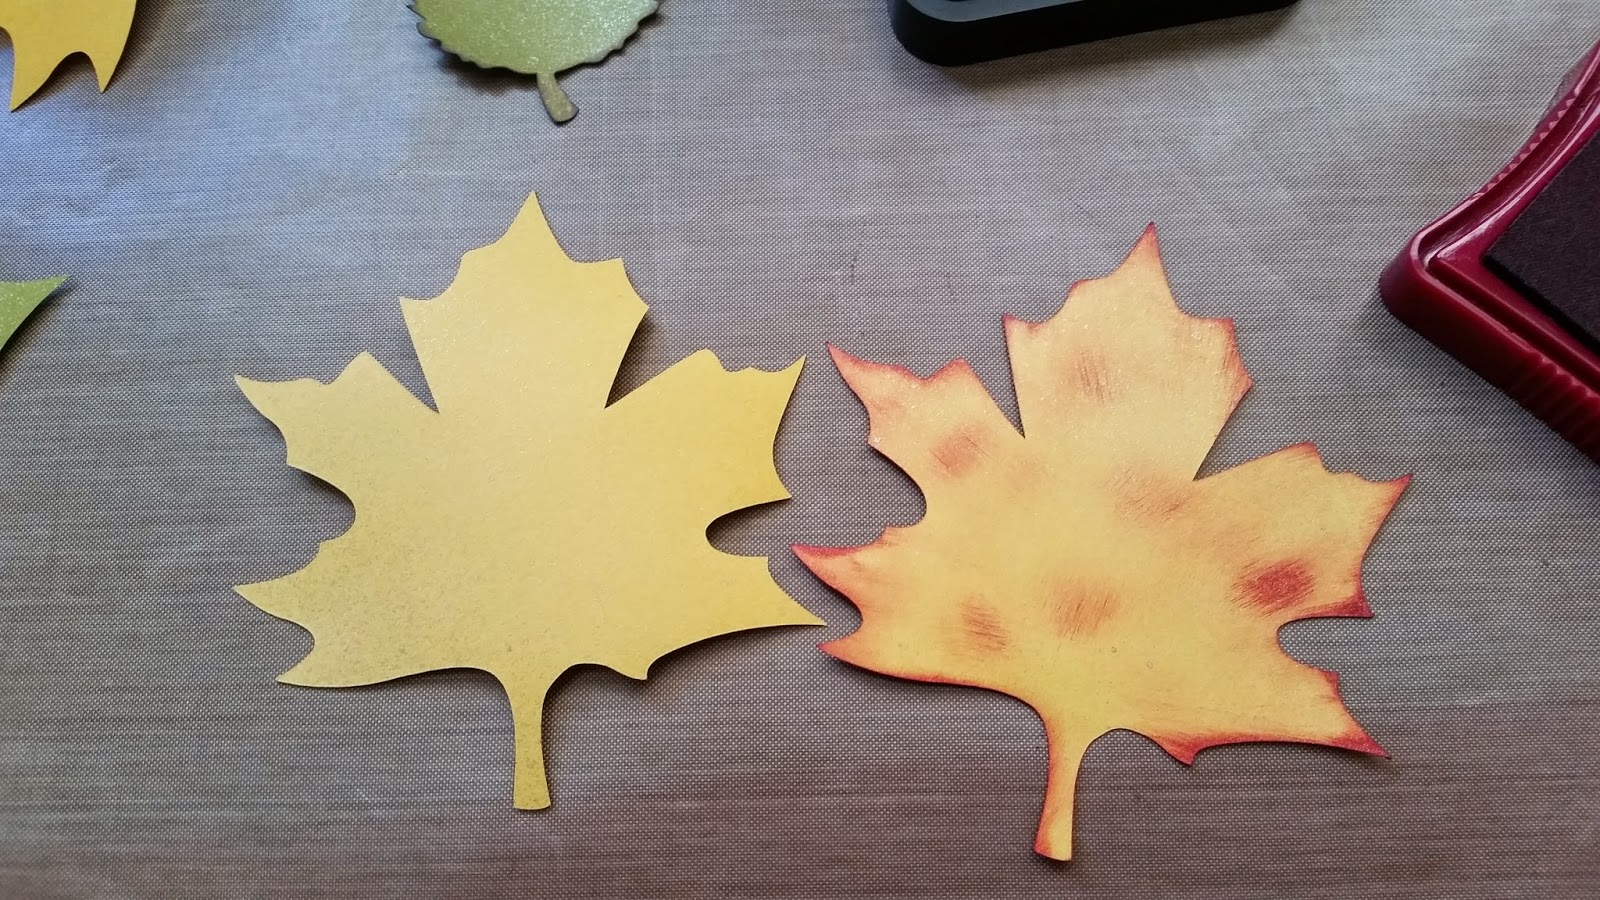
On the yellow maple leaves I decided to try some red ink and love how these looked.

After all the misting and inking I felt they still needed something else. So, I waded them up in my hand to create this crinkle effect. I did this with all of them except for the smallest leaf.
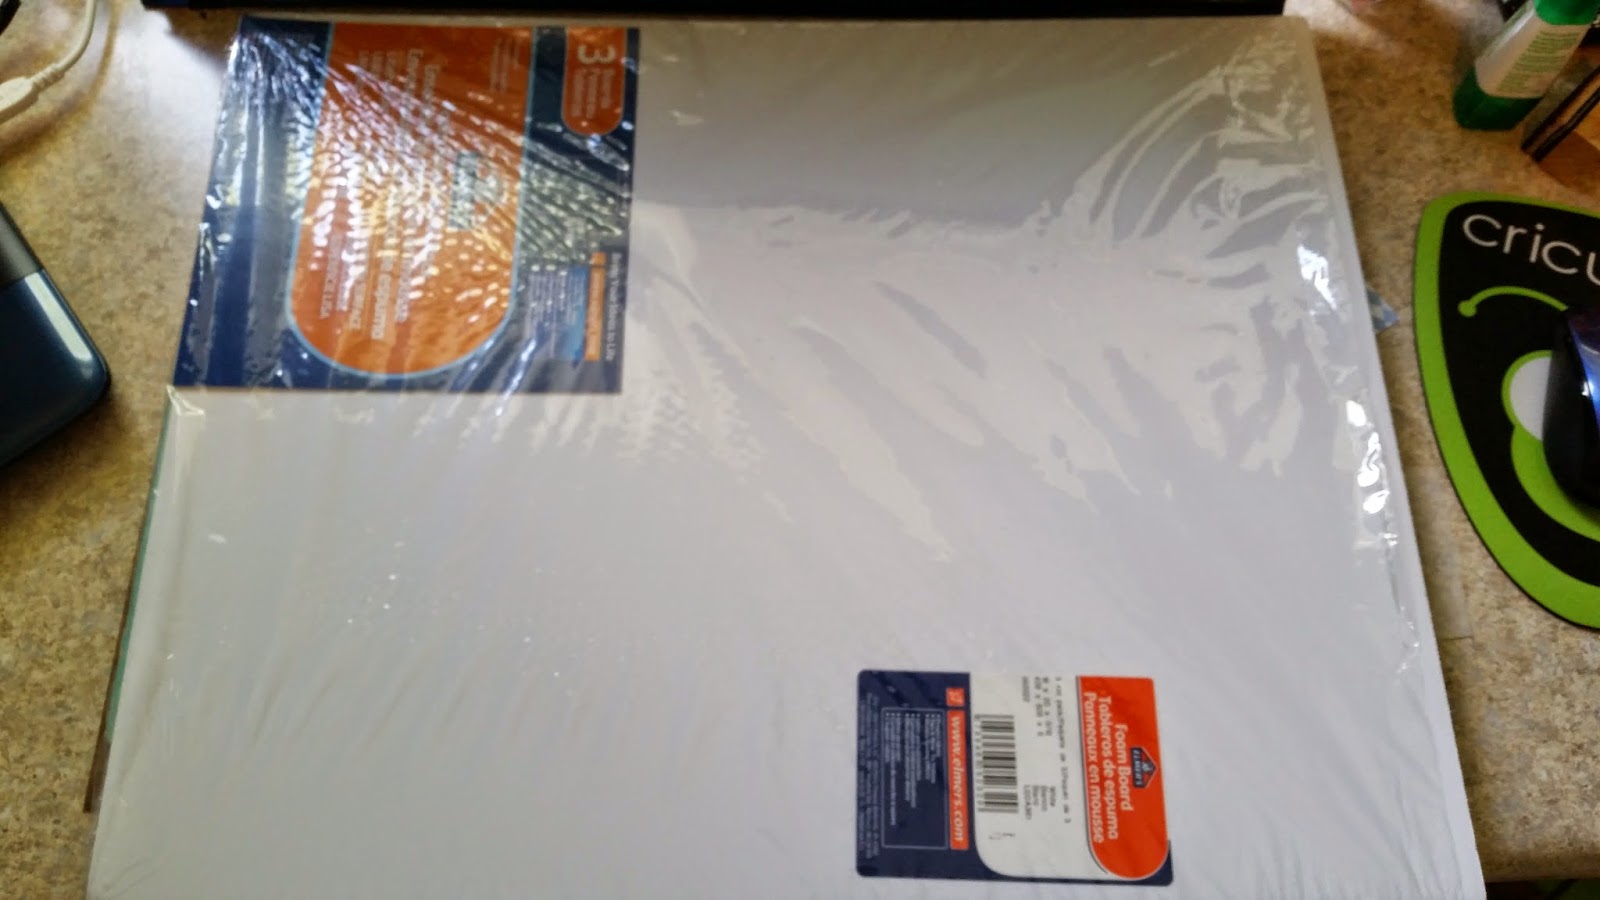

For my base I used a foam board by Elmer’s. The board measures 16″ x 20″. I cut out the center leaving a 4.25″ frame. I then covered the front of the foam board with kraft cardstock so that the white would not show through. Sorry, I forgot to take a picture of the foam board after it was cut.
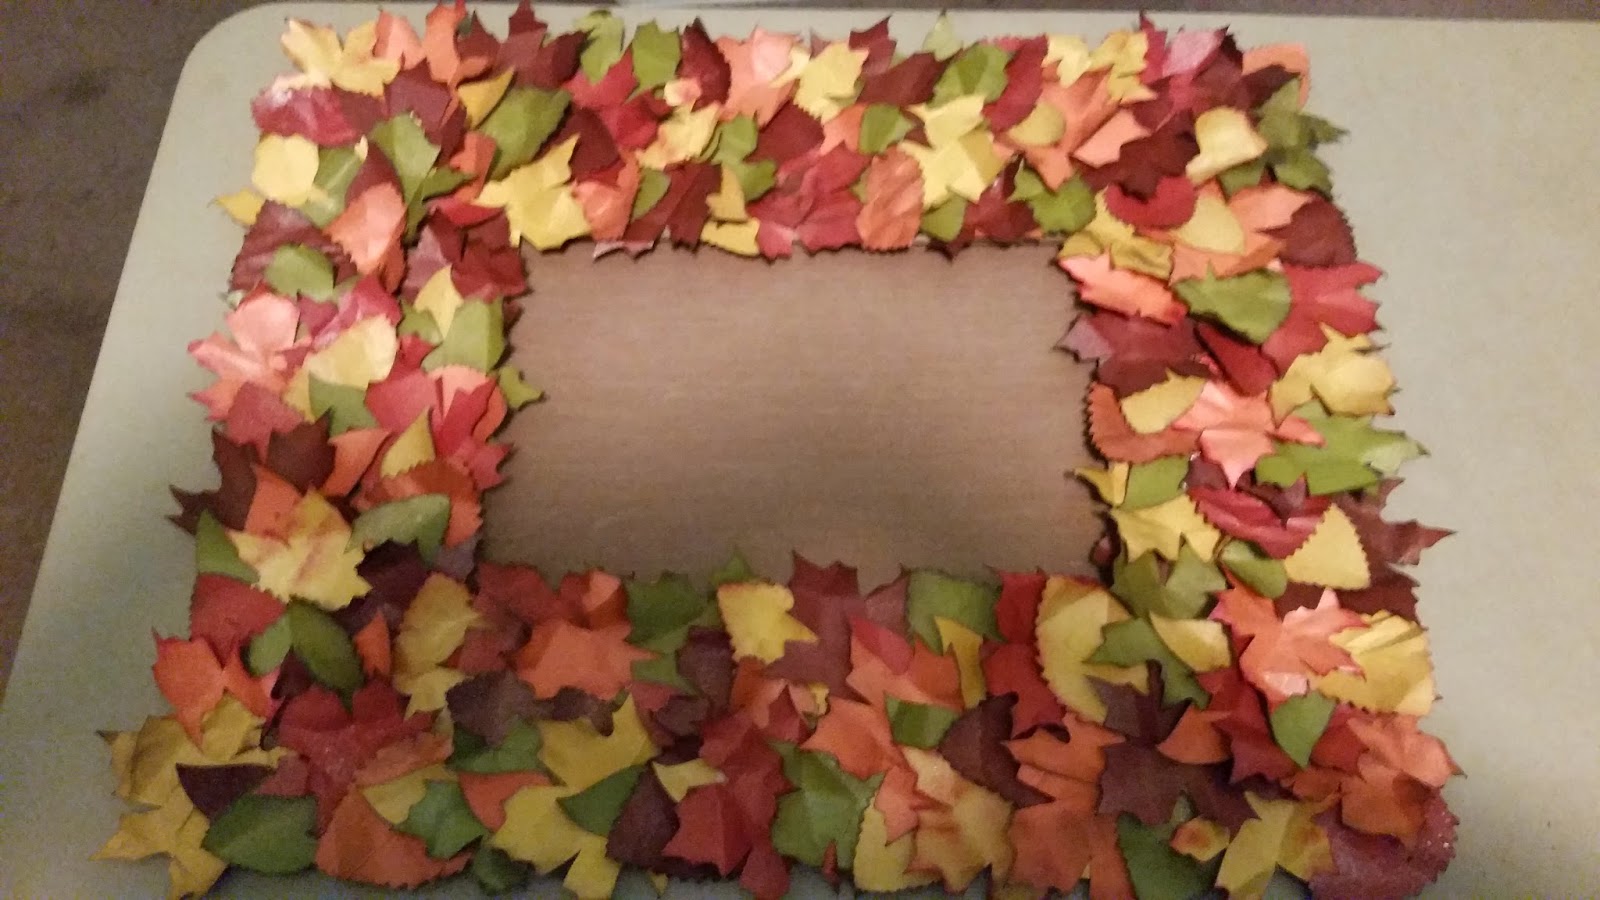
I used a hot glue gun to apply the leaves and I layered the leaves in a counter clock wise around the foam board. I did not apply the smallest leaf (the red one in the image above) until the end. This small leaf worked great as a filler.

My welcome sign is from Lacy Labels and Measures 5.25″ x 10″. I used my Crop-A-Dial to punch holes in the sign and the edge of the wreath. I used raffia to hang the welcome sign.
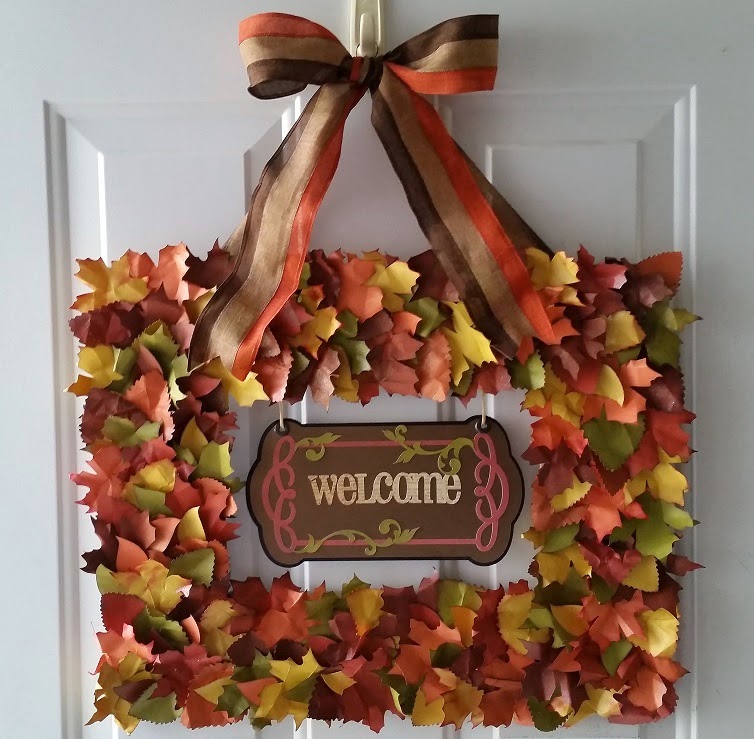
Again, here is the finished wreath. It did not take long at all. I thought applying the leaves to the foam board would take me forever but it was actually the fastest of all the tasks. If you have any questions I will be happy to answer them. I would love if you would follow my blog and share with your friends. I do have a blog hop coming up next week that will feature Halloween home décor. So be sure to come back.
Happy Crafting,
Kimberly

Beautiful!
LikeLike
Love, love, love it.
LikeLike
Thanks for taking the time to share all the details!!
LikeLike
Thanks for sharing!
LikeLike
Absolutely stunning. Thank you for sharing.
LikeLike
Beautiful wreath. Maureen
LikeLike
What an awesome creation! Thank you so much for entering the Crafty Gals Corner DT Call! ♥ Samantha Crafty Gals Corner – DT Coordinator Crafty Gals Corner
LikeLike
Thank you for your consideration. Kimberly
LikeLike